peasquared

my life in pictures and words

Archive for the tag “#mcpattyssews”

Surprises on the Inside

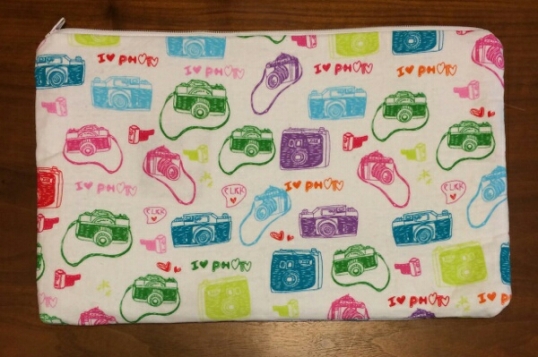
Last Christmas I put my sewing machine to work and made a few of the gifts we gave. These are the ones I made for my bro-m and sil-s.

I found this fabric at Joann Fabric & Crafts. I still hadn’t started topstitching yet so this one doesn’t have it. Funny story about this particular zipper bag. I thought it’d be cool to have the zipper super close to the bag so while sewing upcloseandpersonal I accidentally sewed over the zipper! I had to break out my seam ripper and start all over. It was no bueno! But in the end I was happy that I kept with it and cleaned it up.
image
(photo courtesy of sil-s)

I found this awesomely old skool cassette tape pattern on fabricworm and knew I had found the right pattern for my bro-m. His zipper bag is the first that I topstitched the zipper.
image
(photo courtesy of sil-s)

When I cut his material I accidentally cut the lining too short so I had to cut just a few more inches of another piece and then sew them together. Oops!
image

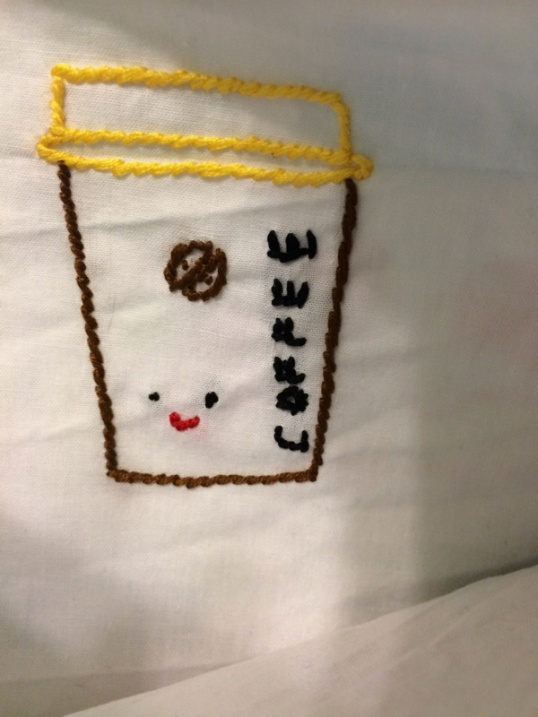
Now, for the surprises on the inside….I had seen this super cute embroidery patten and decided that I wanted to make it on something and give it to my sil-s. I thought how fun would it be to open a zipper bag and see this!? So I cut out my liner and then embroidered this cute little coffee cup. Now whenever sil-s opens up her bag she’ll see this little guy!
image
(photo courtesy of sil-s)

I was perusing around mollie’s blog, looking at free patterns and such, and found this little guy. So I decided to give him a shot and embroider it into bro-m’s bag.

image

Here are some “in the process” shots…
image

image

I think they turned out great and I am so excited to try out some more.

photos edited with instagram, pixlr express, and photogrid Android apps

Zipper with a Twist

So my cousin had asked me too make a zipper bag for her A LONG TIME AGO and after about five months I finally made it for her.

I followed this tutorial by noodlehead. It was pretty straightforwardand fun to make.

I like to have the zipper opening from left to right so I’m always having to check and double check to make sure I’m sewing the correct sides together.image

I made a few zipper bags for Christmas last year and didn’t topstitch the zippers which I regret. So now I topstitch to give it a cleaner look.
image

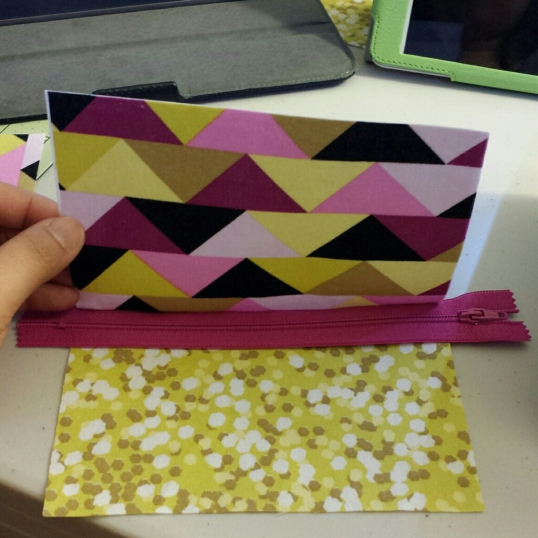
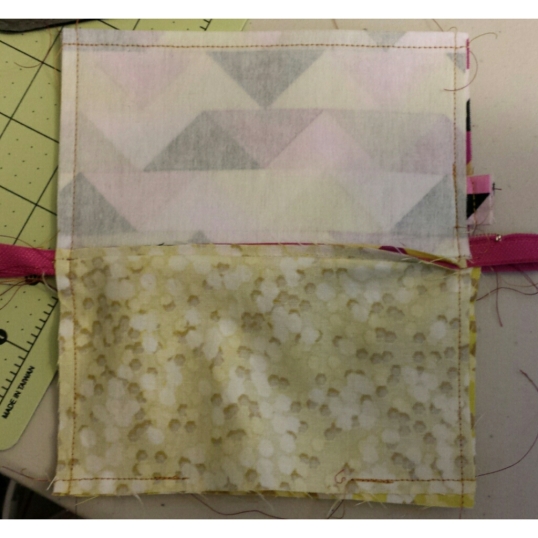
Once I’ve finished sewing and topstitching the zipper I line up the outside and inside together. Well, the outsides together and the insides together. Also, making sure that I’ve kept the zipper at least halfway open and about three inches unsewn (is that a word? Haha it is now!), that way I can pull it inside out to make it right side out. See that little piece sticking out in the bottom right picture? That’s a little twist to just a plain ol zipper bag that you’ll see in a minute.
image

Here’s what it looks like sewn all around (with the little unsewn gap).
image

So the top left photo is showing why I leave the zipper open a bit as well as why I need that gap. The top right is a detail of how the corners need to be clipped. But not too far that it cuts into the corner of the bag. Bottom left is what the bag looks like while turning it inside out. And the bottom right is after I’ve turned out and used my pointer to make a clean point in the corner.
image

So this is what the liner looks like once it’s been turned inside out. I folded the flaps under and closed it by sewing it shut. Haha! Don’t get it? It’s nothing really just my weird sense of humor. Sorry. So anyways that last photo is after I’ve pushed the liner back into the bag.
image

And that little twist is this pull tab thing in the side of the bag.
image

Here it is all done.
image

This was probably my eighth zipper bag and third one with the topstitching. I’m getting better at it but it’s still not super professional or anything. Practice, practice, practice! Still having lots of fun so that’s good too! Haha!

Post Navigation